
When you bring that electric smoker home, there’s only one thing on your mind… smoking some delicious cuts of meat and chowing down on your very first foody backyard project — yum!
![How To Use An Electric Smoker In 10 Easy Steps [With Pictures]](https://brobbq.com/wp-content/uploads/2022/08/How-To-Use-An-Electric-Smoker-In-10-Easy-Steps-With-Pictures.jpg)
But a lot goes into using an electric smoker than many realize, especially if you want to do things the right way.
The last thing you want to do is set your smoker up wrong and destroy your prize cuts of meat, or worse, damage the smoker itself, so slow your roll, pard.
Have a quick look through this brief yet informative 10-step guide to using an electric smoker.
Step 1. Preparing Your Meat
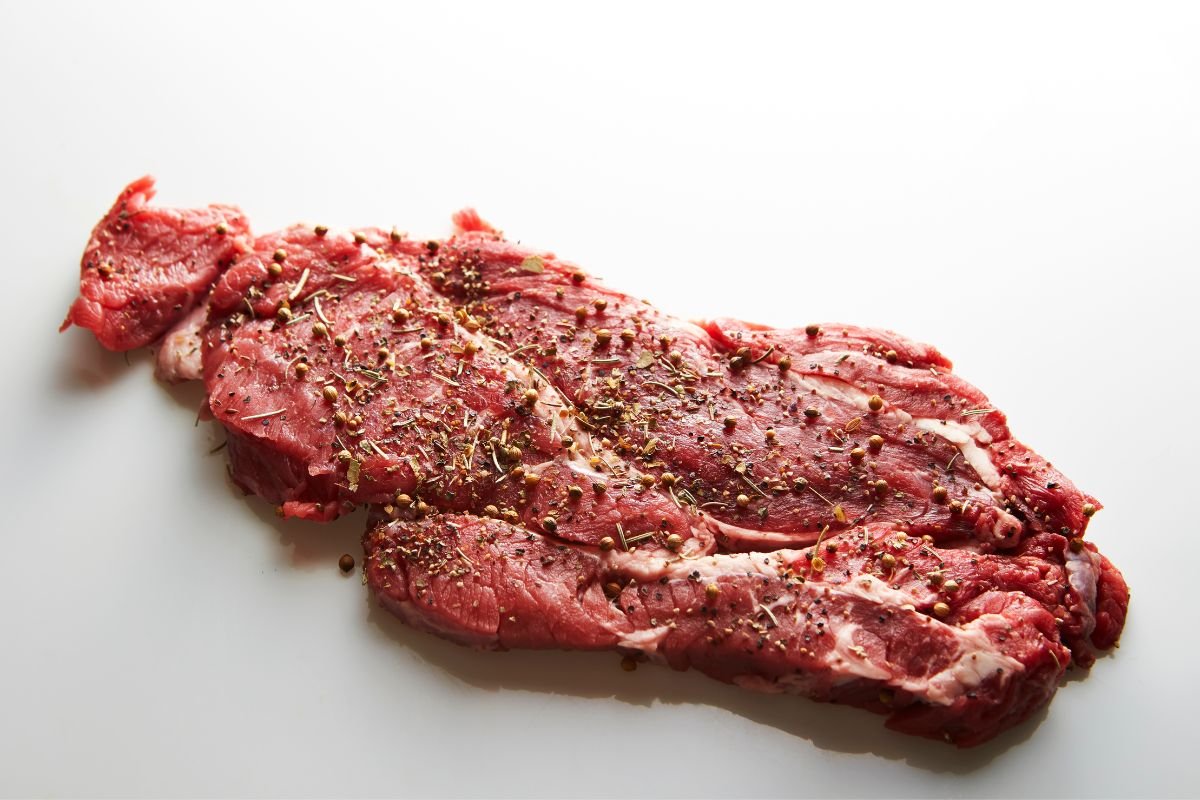
If you’re marinating or applying dry rub to fish or smaller cuts of meat, you can get this job done in 15 to 30 minutes, but for marinating tender cuts of meat, you’re looking at something more to the tune of 2 to 8 hours, which is why I’ve suggested this be your first step.
Step 2. Seasoning Your Smoker
Not many newbies realize it, but if you’re looking for perfection from the very first smoke, you need to season your smoker first.
That might sound crazy to you, but trust us; we know what we’re talking about.
When these beautiful machines are dispatched from the factory, rarely do the manufacturers have the time or resources to sanitize them beforehand, and to get rid of all the residual contaminants, a good curing session is required.
Here’s how it’s done:
- Rub down your smoker’s insides with a cloth and cooking oil. Not too much — Just a thin layer will suffice.
- Ensure the water pan and chip box are secured inside the smoker.
- Plug your electric smoker in.
- Set the temperature to at least 275° F.
- Dial in a 3-hour cook time with the timer.
- At the 2-hour mark, open it up and decant 1 or 2 cups of wood chips into the chip box, then close the door and let the remaining hour play out.
- Wait for your smoker to cool, and voilà; you’re ready to smoke your first foods — Exciting!
Just FYI for those of you thinking this is a rather long-winded way of doing things, you really only have to do this once, and only if the smoker’s fresh from the factory.
Step 3. Familiarizing Yourself With Your Smoker’s Vents & Temperatures
Control is everything during a smoke, so before you throw in all your best meat, take a moment to familiarize yourself with the temperature and venting systems of your electric smoker, especially as electric smokers are prone to swinging — No… not that kind of swinging.
In this context, swinging means that the temperature may oscillate either side of the desired temperature by around 20° F.
The more control you have over your unit, the better you’ll be able to minimize the dreaded swing.
Generally speaking, you’ll want to keep the vent open during a smoke, closing it only to raise the internal temperature; however, different meats benefit from different ventilation strategies.
Step 4. Adding Your Wood Chips
Typically, the chip tray is located on the right-hand side, near the bottom of the unit, and it will look like the tray in the picture above; although some smokers will utilize a cylindrical chip insert.
Either way, remove your tray and add the recommended amount of chips.
If you’re unsure how many to put in, the general rule of thumb is to use about 600 grams for every 3–5 hours you plan on smoking your food.
We’d recommend only using hardwood chips, such as hickory, apple, and mesquite, as the smoke from softer woods is never as tasty.
Step 5. Turning Your Smoker On
This step is fairly self-explanatory, but remember, plugging in your smoker and hitting the power switch will not activate your smoker. To turn up the heat, first, you have to select a temperature.
Step 6. Preheating
Now that your temperature is set, just kick back and let the smoker hit those highs capable of cooking through your hunk o’ meat!
For the vast majority of meats, 200–225° F is considered the sweet spot, but for larger, denser cuts, such as brisket, you may want to push through to 250.
Step 7. Filling The Water Tray
Next up, take your water tray and fill it with hot water, then insert it into the tray slot in the base of the unit. If there is no dedicated tray holder, simply rest it on the base of the smoker.
Why hot water, you ask? Well, it minimizes temperature loss, ensuring you can smoke your meats post-haste.
You may like to experiment with a flavoring in the water, such as apple juice, but we’d recommend keeping it simple for your first try.
Step 8. Smoking Your Meat
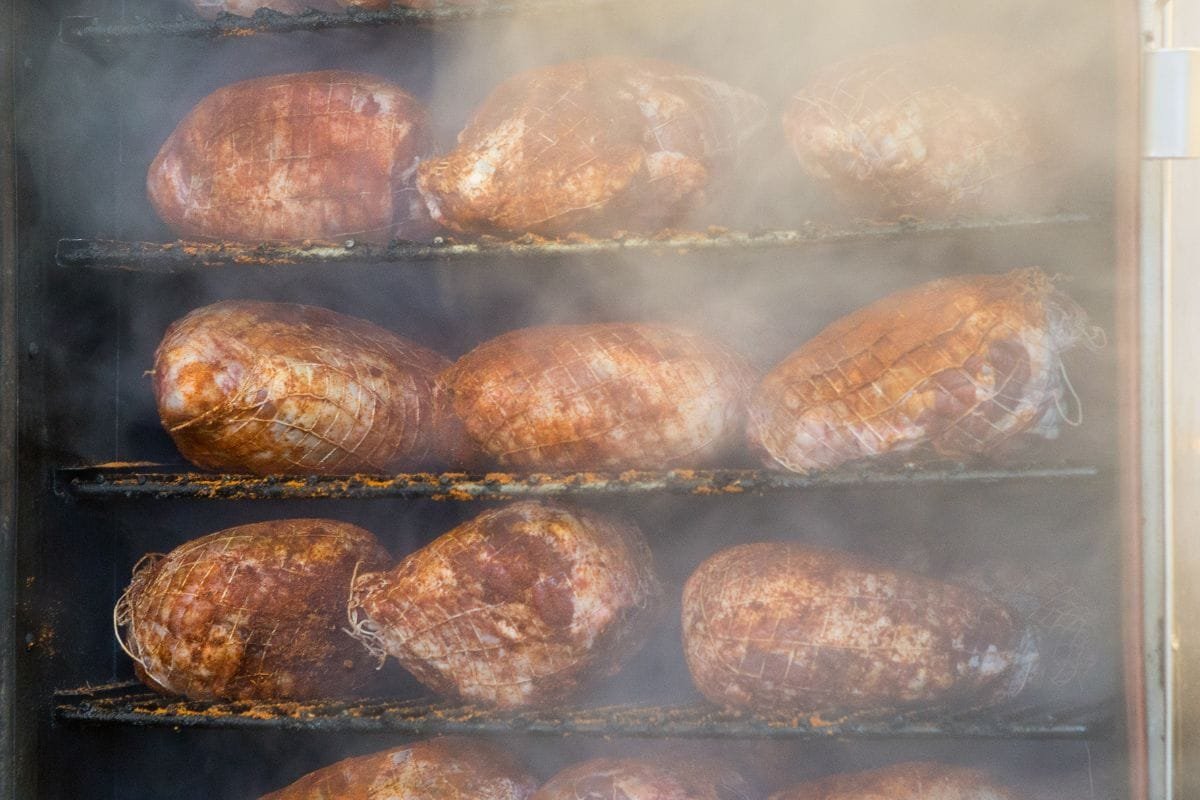
Take your prepared meats, and place them directly onto the racks inside your smoker, using something like these tongs to insert and arrange them.
Smaller items should be towards the top, and the heftier bits should sit closer to the bottom.
Larger meats may require a bit of manhandling, so we’d also suggest investing in some quality BBQ gloves.
The key here is to be swift. The longer the door is open, the more heat will escape, and the longer you’ll be waiting to dig into your delicious meal.
How Can I Use an Electric Smoker to Make Smoked Tri-Tip?
To make a delicious smoked tritip recipe stepbystep with an electric smoker, start by seasoning the meat with your favorite rub. Preheat the smoker to 225°F and place the tri-tip on the rack. Smoke the meat for 1-2 hours until it reaches an internal temperature of 135°F. Rest the tritip for 10 minutes before slicing and serving.
Step 9. Setting The Timer
Once the door’s locked up tight, set the timer. Research your particular cut of meat online, as cooking durations can vary significantly. Once that’s done, it’s time to play the waiting game.
Be patient, and resist the urge to open the door unless you absolutely need to replenish the water or chips.
Step 10. Letting Your Meat Rest
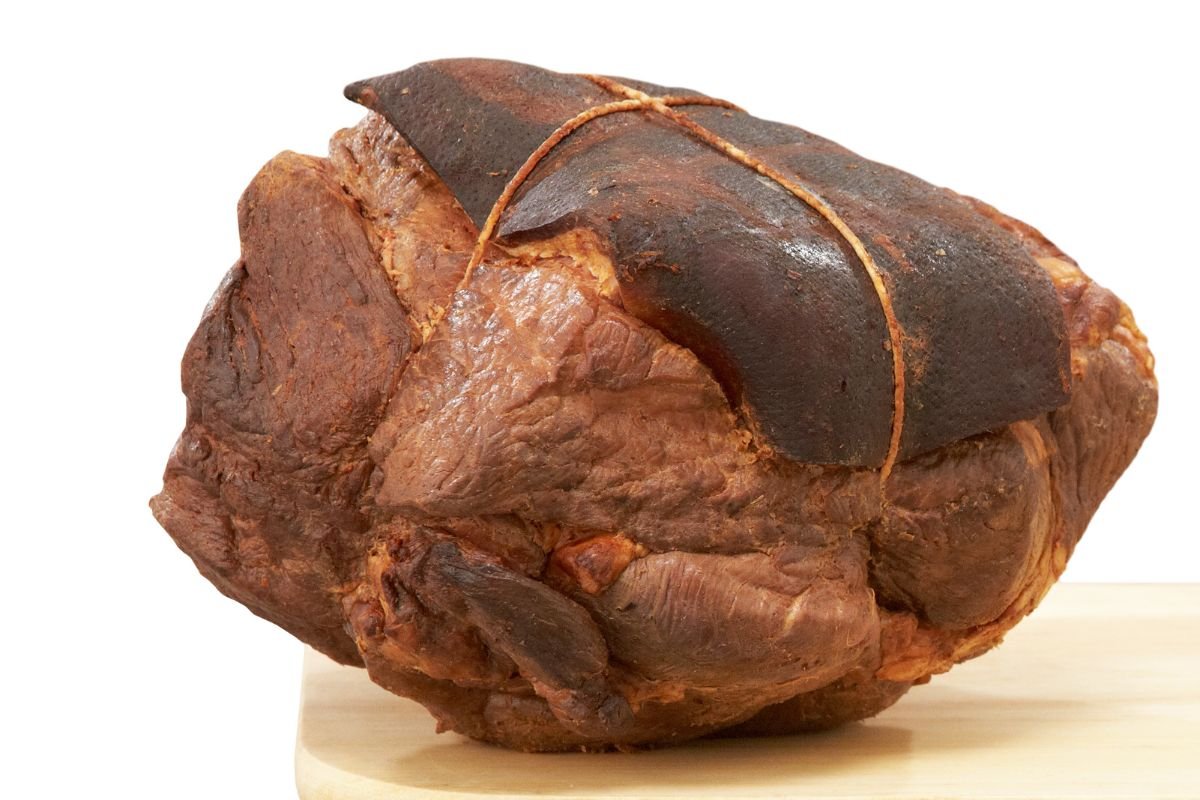
Once that buzzer goes off, remove the meat, and let it rest for about 20 minutes before having your first taste. If it doesn’t seem quite done, pop it back in the smoker for another 1–2 hours.
Final Thoughts
That’s all there is to it really — The biggest challenge, especially for newcomers to the discipline, is, well… discipline. Some meats can take 10 hours+ to smoke, so patience is crucial.
Thankfully, though, electric smokers give you a longer leash. While it’s good to keep an eye on proceedings, you don’t have to be quite as vigilant as you would with a traditional unit, which makes things a lot more bearable.