
If you’re looking for a way to prepare and cook any meat you have, whilst getting a beautifully smoked texture to it at the same time, few are as thorough and effective as a charcoal smoker.
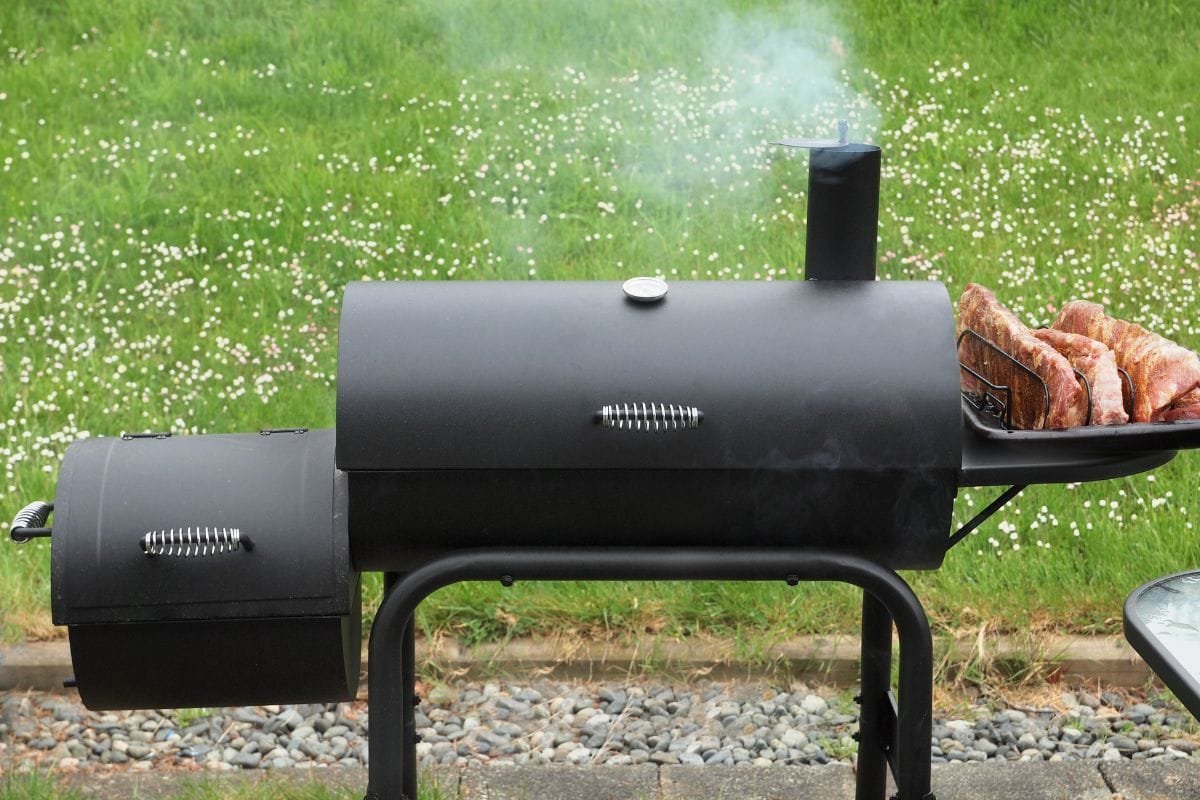
![How To Use A Charcoal Smoker In 11 Strategic Steps [With Pictures]](https://brobbq.com/wp-content/uploads/2022/08/How-To-Use-A-Charcoal-Smoker-In-11-Strategic-Steps-With-Pictures.jpg)
With time, patience (and a lot of charcoal), they can create some of the most tender and succulent meat that you can think of!
That is, of course, if you know how to use one.
If you don’t, you may find that you’re unable to even get started with cooking whatever meat you have prepared. Or worse, you could end up burning your food to a crisp!
So, when it comes to preparing your smoke, it is useful to have a guide that you can easily follow and read before and during your start using your charcoal smoking tool.
This is where our guide comes in!
In this guide, we are going to show you how to use a charcoal smoker correctly, complete with pictures to help you visualize the process.
Creating The Smoke
So, before you do anything else with a charcoal smoker, you need to have that heat and smoke in the first place!
To get the cooking started, you should begin by heating your charcoal in a charcoal chimney.
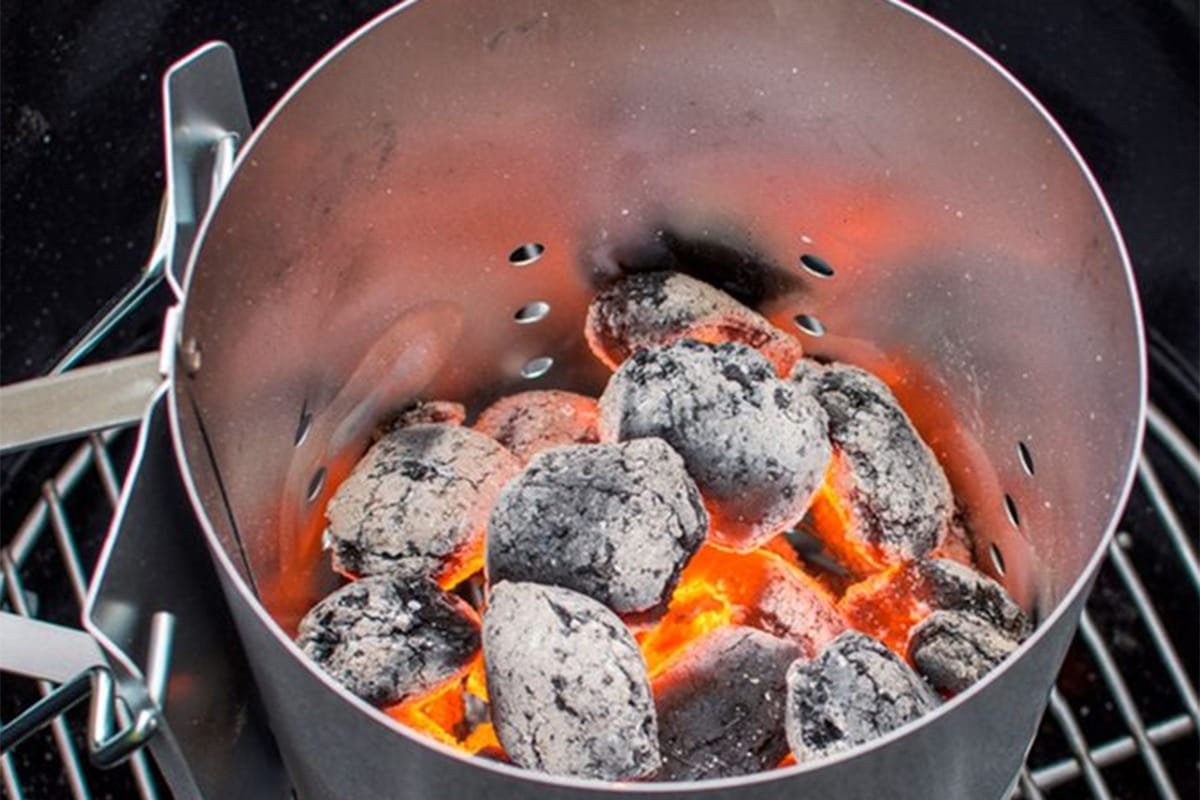
A charcoal chimney is a vessel that packs your charcoal tightly enough to start heating them and start smoking, without smothering any heat or flames that it may have once they begin cooking.
Follow the instruction of the chimney, and allow them to heat up for at least 15 minutes
Adding Hot Coal To The Smoker
Now, you can start to add hot charcoal to the charcoal smoker!
To do this, you need to add more unlit charcoal to one side of the bottom of the smoker, then start slowly pouring the hot coals onto the unlit ones.
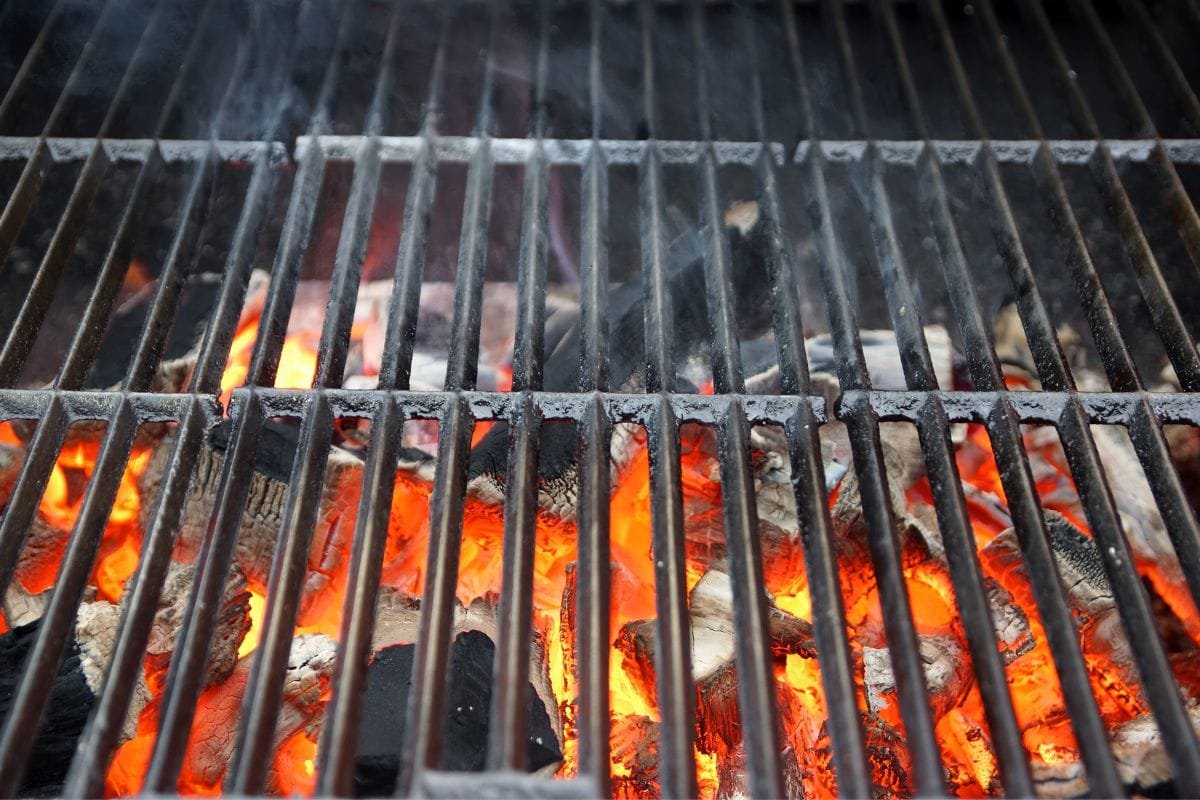
If you’re looking for the best results when it comes to your meat, try and keep all the coal on one side of the smoker.
This will allow you to move your food to one side of the smoker where they will just receive heat and not extra smoke, especially once they are as smoked as you are looking for.
Enhancing The Smoke Of Your Smoker
So, with your charcoal now starting to get hot enough to start cooking with, you’re going to want to start adding a little extra smoke to the mix.
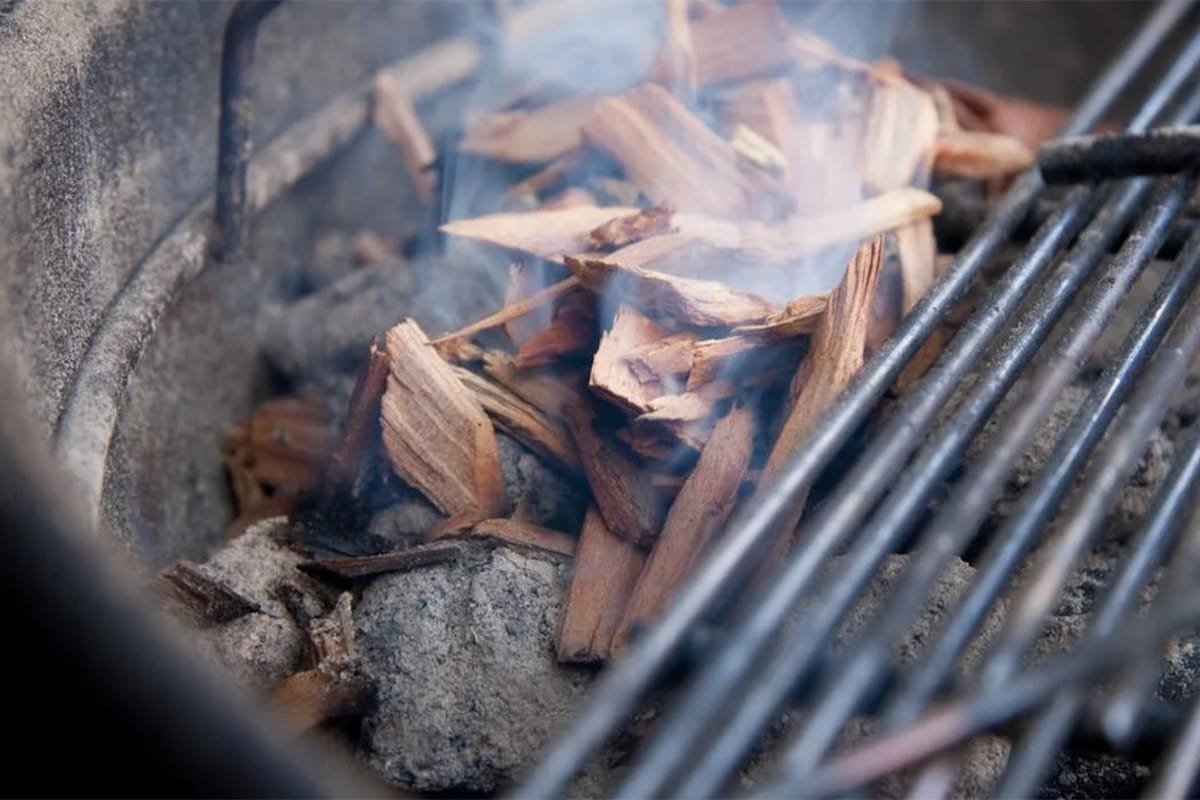
On top of the hot charcoal, start adding wooden chunks to the glowing coal.
This will add a little extra smoky taste to your food whilst it is cooking, as hot coal tends to produce less smoke than burning would do.
Filling Your Smoker Water Pan
Whilst adding water to a cooking vessel that is full of fire might seem a little counterintuitive, this is a vital step.
Adding the water, which will slowly start to boil and steam will allow your food to cook evenly, as well as help regulate the temperature of the smoker.

Make sure that the water pan is around three-quarters full, and place it either in the center or opposite where the meat will go under the grill.
Placing Food In Your Smoker
So, with all the prep work finally done, your charcoal smoker setup should start to look a little something like this:
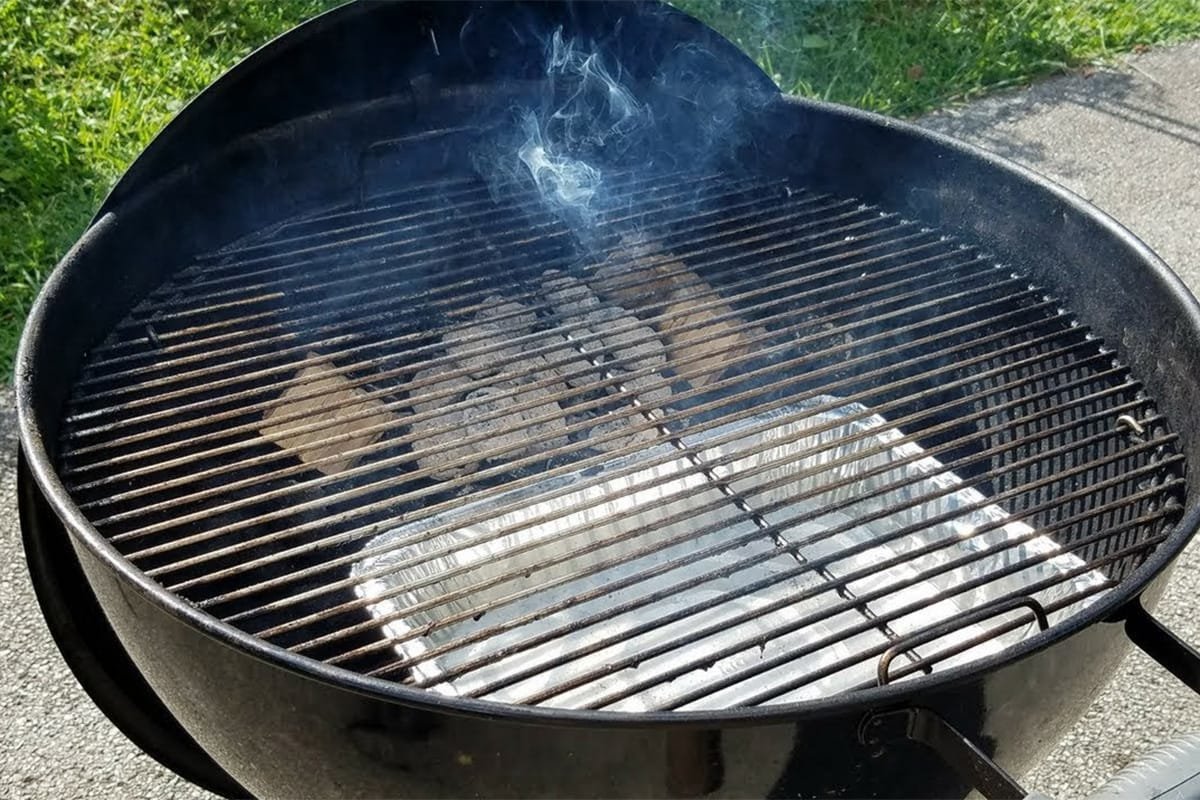
Now, you can start to place your food on the grill above the heat, smoke, and water.
If your model has more than one grate, place small food items and veggies on the top grate, as they will take less time to cook than the meat.
Set The Smoker Lid On
So, with the food prepped and ready to start cooking, it is time to place the lid on the smoker.
Make sure that the vent on the lid of your smoker is open.
That will create the airflow that allows the heat and smoke to pass through your food, and vent out of the vessel.
Maintaining Quality Smoke & Air Flow
So, now that the setup has been taken care of for your smoker, the main goal from this point going forward is to maintain that consistent heat and smoke whilst your food is cooking.
Make sure that the top AND bottom vents are now open, which will allow air to enter the chamber, heat up and smoke, then cook the food as it leaves.
Keep The Internal Temperature Steady
Similar to the last step, you’ve got to make sure that the internal temperature is stable, which you can partly manage by regulating how open the bottom vent to your smoker is.
Ideally, you want to keep the internal temperature at around 220 degrees Fahrenheit, and no higher than 250 degrees.
You can increase the temperature by adding coal or reducing it by cutting off oxygen by closing the vents slightly.
Keep Lid On Your Smoker
This is an important detail that will help keep your cooking times down.
Taking the lid off of your smoker will allow precious heat and smoke to escape, and it can take a while to build up again.
So, make sure that you do not take the lid off to check your meat more than once an hour or so.
Don’t worry about your meat. It will still be cooking inside!
Adding Extra Coal
This is a step that you should only follow if you think you’ll need extra heat.
Repeat the first step that we explained with the second batch of coal in the chimney, which you can add to your smoker as necessary.
Experimenting With Cooking Times
This final step will take some patience.
Different foods have different ideal cooking temperatures and times. Some will cook better at high heat and for less time (less than an hour), while others may be kept lower and for up to 4 hours.
Final Thoughts
So, there you have it! The perfect guide to charcoal smoking!
We hope you’ve found our guide helpful!